Photography Basics: Understanding ISO, Aperture, and Shutter Speed
Photography is both an art and a science, and mastering the basics can make a significant difference in the quality of your images. Three fundamental elements—ISO, aperture, and shutter speed—work together to determine how your camera captures light. Understanding how these settings interact is key to taking better photos, whether you’re using a DSLR, mirrorless camera, or even a smartphone. Let’s break down these essential concepts.
1. ISO: Sensitivity to Light
ISO refers to your camera sensor’s sensitivity to light. A lower ISO number (like 100 or 200) means your camera is less sensitive to light, resulting in finer, smoother images with less noise (graininess). This setting is ideal for bright conditions. Conversely, a higher ISO (like 800 or 1600) makes your sensor more sensitive to light, which is helpful in low-light situations. However, high ISO settings can introduce noise, which may reduce the clarity of your images.
Tip: Start with a low ISO in bright daylight and increase it as the light decreases.

This image shows two ISO settings - the lower image is high ISO, so has more 'noise'

This image shows the difference in aperture on cameras - the lower the 'f/stop' number, the larger th aperture, and so the more light gets in
2. Aperture: Controlling Depth of Field
Aperture refers to the size of the opening in your camera’s lens through which light enters. It’s measured in f-stops (e.g., f/2.8, f/5.6, f/16). A lower f-stop (like f/2.8) means a larger aperture, allowing more light to enter and creating a shallow depth of field. This is perfect for portraits, where you want the background to be blurred, highlighting your subject. A higher f-stop (like f/16) results in a smaller aperture, allowing less light but offering a greater depth of field—ideal for landscapes where you want everything in focus.
Tip: Use a low f-stop for blurred backgrounds and a high f-stop for sharp, detailed images.
3. Shutter Speed: Freezing or Blurring Motion
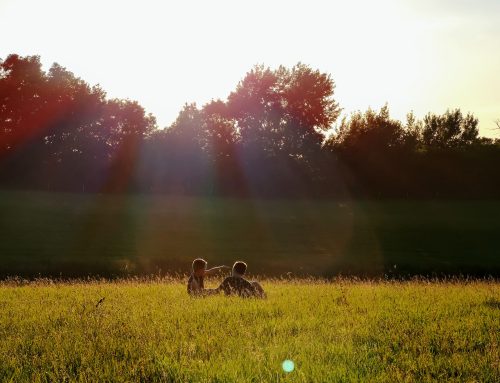
Shutter speed controls how long your camera’s shutter remains open to let light hit the sensor. It’s measured in seconds or fractions of a second (e.g., 1/1000, 1/60, 2″). A fast shutter speed (like 1/1000) freezes motion, making it perfect for capturing action shots without blur. A slower shutter speed (like 1/30 or 2″) lets more light in but can cause motion blur, which can be creatively used for things like capturing the smooth flow of water or light trails.
Tip: Use fast shutter speeds for action shots and slower ones for artistic effects or low-light scenes.

This image shows how the shutter speed affects both the amount of light and the amount of movement in an image
Bringing It All Together
The magic of photography lies in balancing ISO, aperture, and shutter speed to achieve the desired effect. This balance is often referred to as the “exposure triangle,” and understanding how each component affects your image will give you greater control over your photography.
- In bright light: Use a low ISO, a higher f-stop, and a faster shutter speed.
- In low light: Increase the ISO, use a lower f-stop, and slow down the shutter speed (use a tripod to avoid camera shake).
- For portraits: Opt for a low f-stop for a beautifully blurred background.
- For landscapes: Use a higher f-stop and keep the ISO low for sharp details.
Photography is all about experimenting and finding what works best for you. The more you practice, the better you’ll become at instinctively choosing the right settings for any given situation.
Start experimenting today, and watch your photography skills flourish!